Table of Contents >> Show >> Hide
- Why Transplanting Matters
- What Is Transplant Shock?
- When Is the Best Time to Transplant Plants and Flowers?
- Before You Transplant: Set the Stage
- How to Transplant Plants and Flowers Step by Step
- Aftercare: What Plants Need After the Move
- Special Tips by Plant Type
- Common Transplanting Mistakes to Avoid
- Expert-Backed Quick Tips for Transplant Success
- Conclusion
- Real-World Experiences and Lessons From Transplanting
- SEO Tags
Moving a plant from one spot to another sounds simple until your once-cheerful flower suddenly acts like it has been betrayed by the entire gardening profession. Leaves droop. Stems sulk. Blossoms go quiet. Welcome to transplanting, where good intentions meet root systems with strong opinions.
The good news is that transplanting plants and flowers does notic relocation reality show.
In this guide, you will learn when to transplant, how to reduce transplant shock, what to do before and after planting, and the most common mistakes gardeners make. Whether you are upgrading crowded flower beds, repotting container plants, or moving nursery plants into the ground, these practical tips will help your garden settle in beautifully.
Why Transplanting Matters
Transplanting gives plants a better chance to grow, bloom, and establish stronger root systems when their current location is no longer working. Sometimes a plant outgrows its pot. Sometimes the flower bed becomes crowded. Sometimes a shrub was planted in the wrong place and is now staging a silent protest with weak growth and poor color.
When done properly, transplanting can improve airflow, reduce competition for water and nutrients, and place a plant in the light and soil conditions it actually prefers. In other words, the move is not the problem. A bad move is the problem.
What Is Transplant Shock?
Transplant shock is the stress a plant experiences after being moved. It usually happens when roots are disturbed, exposed to sun or wind for too long, planted too deep, allowed to dry out, or pushed into a new environment too quickly. The result can look alarming: wilting, yellowing, slowed growth, scorched leaves, or a temporary bloom boycott.
Most plants can recover from transplant shock if the basics are handled well. The goal is not to make transplanting completely stress-free. Plants are not spa clients. The goal is to minimize stress enough that they can redirect energy into new root growth instead of survival mode.
When Is the Best Time to Transplant Plants and Flowers?
Choose cool, mild conditions
The best time to transplant is usually on a cool, cloudy, calm day or in the late afternoon. Those conditions reduce moisture loss and help plants settle in before facing direct sun and heat. Transplanting during the hottest part of the day is like asking your plant to move apartments at noon in July while carrying boxes up five flights of stairs.
Spring and fall are often ideal
For many garden plants, spring and early fall are the easiest seasons for transplanting. Soil is workable, temperatures are milder, and roots can establish before extreme summer heat or winter cold arrives. Spring is especially good for many perennials and shrubs, while early fall often works beautifully for dividing and moving spring-blooming perennials.
Know your plant type
Annual flowers and vegetable starts are commonly transplanted after the danger of frost has passed and after seedlings have been hardened off. Perennials are often moved in spring or early fall. Houseplants are best repotted during active growth, usually in spring or early summer. Trees and shrubs require extra care with timing, depth, and watering because their root systems need longer to reestablish.
Before You Transplant: Set the Stage
Water the plant ahead of time
One of the smartest pre-transplant moves is watering the plant before you touch it. Moist roots hold soil better, stay cooler, and suffer less damage when lifted. A dry root ball falls apart more easily, which means more broken roots and a rougher transition.
Prepare the new planting site first
Always dig the new hole or ready the new container before removing the plant from its current home. This cuts down the time roots spend exposed to air, wind, and sunlight. The less time roots sit around wondering what happened, the better.
Check light, drainage, and spacing
Do not transplant first and ask questions later. Make sure the new location matches the plant’s needs for sun, soil moisture, drainage, and mature size. A shade-loving flower moved into full afternoon sun will not call you to complain, but it will absolutely show you.
Harden off indoor seedlings
If seedlings were started indoors or in protected conditions, harden them off for about a week before transplanting. That means gradually exposing them to outdoor sun, wind, and temperature changes. This step helps prevent scorched leaves and sudden collapse after planting. It may feel fussy, but it works.
How to Transplant Plants and Flowers Step by Step
1. Dig a hole that is wide enough, not ridiculously deep
For most plants, the new hole should be wider than the root ball so roots can move into loosened soil more easily. Depth matters even more. The plant should usually sit at the same depth it was growing before. Planting too deep can encourage rot, disease, and poor oxygen flow around roots.
2. Remove the plant gently
Slide container plants out carefully by tipping the pot and supporting the base. For plants in the ground, dig around the root zone to lift as much of the root ball as possible. If roots are circling heavily in a pot, loosen them gently so they do not keep growing in a tight spiral.
3. Inspect the roots
Healthy roots are usually firm and light-colored. Trim obviously dead, mushy, or badly damaged roots with clean pruners. If roots are bound into a dense ring, lightly teasing or slicing the outer layer can encourage them to grow outward instead of continuing the root-ball donut routine.
4. Set the plant at the correct level
Place the plant in the hole so the top of the root ball is level with the surrounding soil, or slightly above grade in poorly drained or compacted soil. For flowers and perennials, matching the previous soil line is a strong rule of thumb. For shrubs and trees, avoid burying the crown or root flare.
5. Backfill with the right soil
In most cases, backfill with the native soil you removed from the hole. Do not create a weird luxury suite of overly rich soil surrounded by totally different ground. That can discourage roots from moving outward. Break up large clods, firm the soil gently, and eliminate major air pockets without compacting everything into brick territory.
6. Water immediately
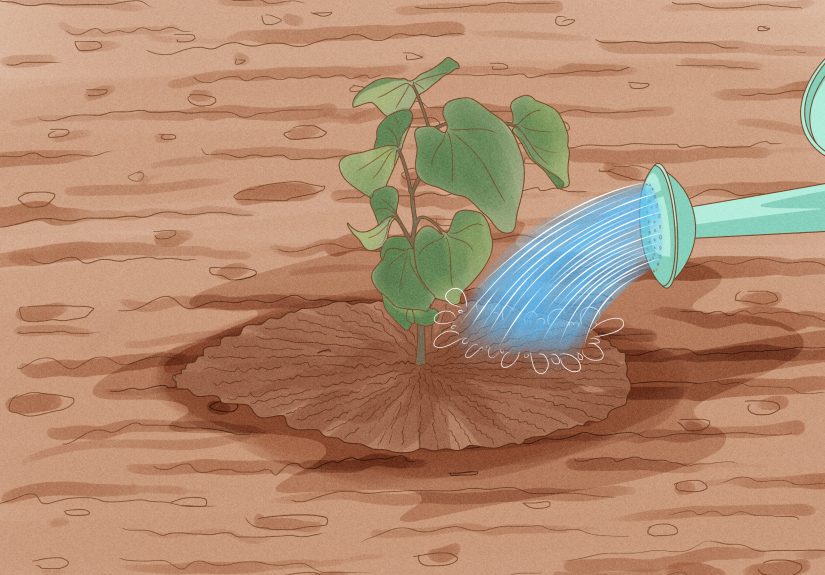
Water right after transplanting to settle the soil and improve root-to-soil contact. This is one of the most important steps in reducing transplant shock. Water slowly and thoroughly so moisture reaches the root zone instead of skating across the surface and disappearing into gardening folklore.
7. Mulch, but not too close
A 2- to 3-inch layer of mulch helps moderate soil temperature, conserve moisture, and reduce weeds. Keep mulch away from stems and trunks. A mulch volcano may look tidy for five minutes, but plants are not fans of soggy crowns and bark problems.
Aftercare: What Plants Need After the Move
Consistent moisture
Fresh transplants need even moisture while roots establish. That does not mean constant sogginess. Check both the root ball and surrounding soil, because the original root mass can dry out faster than the nearby ground. Deep, thorough watering is usually better than frequent shallow sprinkles.
Temporary shade if needed
If weather turns hot or bright right after transplanting, temporary shade cloth, a garden umbrella, or even a lightweight cover can help sensitive flowers and seedlings. This is especially useful for plants moved from greenhouse or indoor conditions.
Go easy on fertilizer
It is tempting to feed a plant immediately after transplanting, as if a big meal will cheer it up. Usually, that is not the best move. Roots recovering from disturbance are more vulnerable, and heavy fertilizing can add stress. Let the plant settle first, then fertilize based on plant type and season.
Watch for normal versus serious stress
Some drooping or slowdown is normal for a short time. Severe blackening, stem collapse, persistent yellowing, or rot may suggest deeper problems such as poor drainage, incorrect depth, or root damage. Patience is good. Ignoring obvious trouble is not.
Special Tips by Plant Type
Annual flowers
Annuals are fast growers, but they can still be touchy right after transplanting. Water before planting, harden off if started indoors, and transplant once temperatures are suitable. Keep them evenly moist during the first week or two, especially in containers and raised beds.
Perennials
Many perennials benefit from division and transplanting when clumps become crowded or bloom less vigorously. Replant divisions promptly and at the same depth as before. If you cannot replant immediately, keep them shaded and moist until you can.
Shrubs and small woody plants
Shrubs need a wider planting area, careful depth control, and consistent watering while they establish. Do not pile soil over the top of the root ball. In heavy or poorly drained soils, planting slightly high often works better than planting too deep.
Houseplants
Repot houseplants when roots are circling heavily, growing out drainage holes, or when the soil dries out too fast. Use a clean container with drainage and choose a pot only a little larger than the current one. A giant pot full of wet mix can create its own set of problems, including root rot and regret.
Common Transplanting Mistakes to Avoid
Moving plants in peak heat: Hot, windy afternoons raise stress fast.
Planting too deep: This is one of the most common causes of failure.
Letting roots dry out: Even short exposure can set a plant back.
Skipping hardening off: Indoor seedlings need a gradual transition.
Overwatering after the move: Wet soil is not the same as healthy soil.
Using too much fertilizer too soon: Recovery first, feeding later.
Ignoring mature size: A charming little plant tag can become a very rude surprise.
Expert-Backed Quick Tips for Transplant Success
- Transplant on a cloudy day or in late afternoon whenever possible.
- Water before moving and right after planting.
- Keep the plant at the same depth it was growing before.
- Loosen circling roots on container plants.
- Mulch to retain moisture, but keep it away from stems and trunks.
- Provide temporary shade for sensitive plants in hot weather.
- Stay patient and monitor moisture closely for the first few weeks.
Conclusion
Learning how to transplant plants and flowers is one of those gardening skills that sounds ordinary but pays off everywhere. It helps you rescue crowded beds, refresh containers, improve bloom performance, and place each plant where it can actually thrive. The secret is not magic fertilizer or a lucky shovel. It is timing, depth, moisture, gentle handling, and a little common sense applied before the roots start panicking.
If you remember nothing else, remember this: prepare first, move gently, plant at the right depth, water well, and do not force a stressed plant to perform on command. A successful transplant is less about speed and more about reducing stress at every step. Your flowers may not send a thank-you note, but a fresh flush of growth is close enough.
Real-World Experiences and Lessons From Transplanting
Anyone who gardens long enough collects transplanting stories, and not all of them are glamorous. One season, a gardener moves a flat of marigolds on a mild evening and they perk up by breakfast like nothing happened. Another season, the same gardener relocates a few petunias at midday, figures a quick splash of water will solve everything, and by sunset those flowers look like they have seen things. The lesson is humbling but useful: technique matters, and plants are excellent at exposing shortcuts.
Many gardeners notice that the easiest transplants are usually the ones prepared in advance. When the hole is already dug, water is nearby, mulch is ready, and the plant is moved quickly, the whole process feels calm. The plant spends less time with roots exposed, and the gardener spends less time improvising with dirt-covered gloves while trying to remember where the trowel went. Preparation does not sound exciting, but in transplanting it is the difference between a smooth move and a botanical emergency.
Another common experience is realizing that some plants forgive you faster than others. Tough annuals, herbs, and many perennials may bounce back with a little watering and shade. Woody shrubs, flowering plants in full bloom, and root-bound houseplants can be more dramatic. They may stop growing for a while, drop a few leaves, or look unimpressed for a couple of weeks. That does not always mean failure. Often, the plant is simply focusing on roots before it returns to top growth.
Gardeners also learn that transplant shock is sometimes self-inflicted in very ordinary ways. A plant gets set an inch too deep. A root ball dries out while someone chats over the fence. A newly planted container sits in blazing sun because the “final spot” seemed convenient. These are not huge mistakes on paper, but plants respond to the cumulative stress. That is why experienced gardeners tend to repeat the same advice over and over: move at the right time, keep roots moist, and do not rush the aftercare.
One of the most satisfying transplanting experiences happens when a struggling plant finally lands in the right spot. A hosta that was frying in too much sun suddenly fills out in part shade. A crowded daylily clump gets divided and returns the next season with better blooms. A root-bound pothos gets repotted and starts pushing fresh leaves instead of sitting around looking personally offended. Those moments remind gardeners that transplanting is not only about moving plants. It is about giving them a better chance to do what they were built to do.
In the end, transplanting teaches patience more than perfection. Even experts lose a few plants, mistime a move, or underestimate the weather. But every successful transplant builds intuition. You start recognizing when soil is moist enough, when roots are too tight, when a plant needs shade, and when it simply needs time. That kind of experience is what turns transplanting from a nerve-racking chore into one of the most useful skills in the garden.





