Table of Contents >> Show >> Hide
In today’s digital age, it may seem like optical drives like DVD drives are slowly becoming obsolete. However, many users still prefer the reliability and versatility of these devices, whether for watching movies, playing games, or even burning data. If you’re looking to install a DVD drive on your PC, you’ve come to the right place. In this guide, we’ll walk you through three different ways to install a DVD drive, each suited to different types of systems and user preferences. Plus, we’ll give you some tips and tricks to ensure that your installation process goes smoothly.
Why Install a DVD Drive?
Although many modern laptops and desktops no longer come with DVD drives, these devices still serve a vital function for certain tasks. From running legacy software and playing older games to watching DVDs, many users find that installing a DVD drive brings valuable utility to their computer. If you’ve got a stack of DVDs or even just a few old CD-ROMs laying around, having a DVD drive at your disposal is still useful. Let’s dive into how you can install one with ease.
Option 1: Installing an Internal DVD Drive (For Desktop PCs)
The most traditional way to install a DVD drive is by adding an internal one to your desktop computer. This method is generally faster and cheaper than installing an external drive, but it requires a bit more effort and knowledge about your computer’s hardware.
Step-by-Step Guide:
- Prepare Your Tools: Before you begin, make sure you have the following tools: a screwdriver, your internal DVD drive, and the right cables (SATA or IDE, depending on your motherboard).
- Turn Off Your PC: Always power down your computer before opening the case. Disconnect all cables to prevent any electrical issues.
- Open the Computer Case: Remove the screws from the side panel of your desktop case to access the internal components. This will expose the area where the DVD drive will go.
- Locate the 5.25-inch Bay: Your desktop case will have several bays, but you’ll need to find a 5.25-inch bay for the DVD drive. This is the standard size for optical drives.
- Insert the Drive: Slide the DVD drive into the bay until it clicks into place. Ensure it is securely positioned within the bay.
- Connect the Cables: Attach the SATA data cable from the motherboard to the drive, and the power cable from the power supply unit (PSU) to the DVD drive.
- Close the Case: Once everything is connected, close the computer case and screw it back into place.
- Power Up and Test: Power on your computer. Once booted up, check if the DVD drive appears in your operating system. You might need to install drivers or run Windows updates to ensure everything works smoothly.
Pro Tip: Make sure your desktop case has enough room for an additional internal drive before purchasing. Some compact cases may have limited space for optical drives.
Option 2: Installing an External USB DVD Drive
If your desktop doesn’t have space for an internal DVD drive or you prefer a more portable solution, an external USB DVD drive is an excellent alternative. This method is especially popular for laptops, which often don’t include an internal optical drive.
Step-by-Step Guide:
- Unbox and Prepare the External DVD Drive: External DVD drives usually come with a USB cable and the device itself. Simply unbox the device and prepare it for installation.
- Connect the DVD Drive to Your PC: Plug the USB cable into an available USB port on your desktop or laptop. Make sure your computer detects the drive immediately. It should show up as an external device in your operating system.
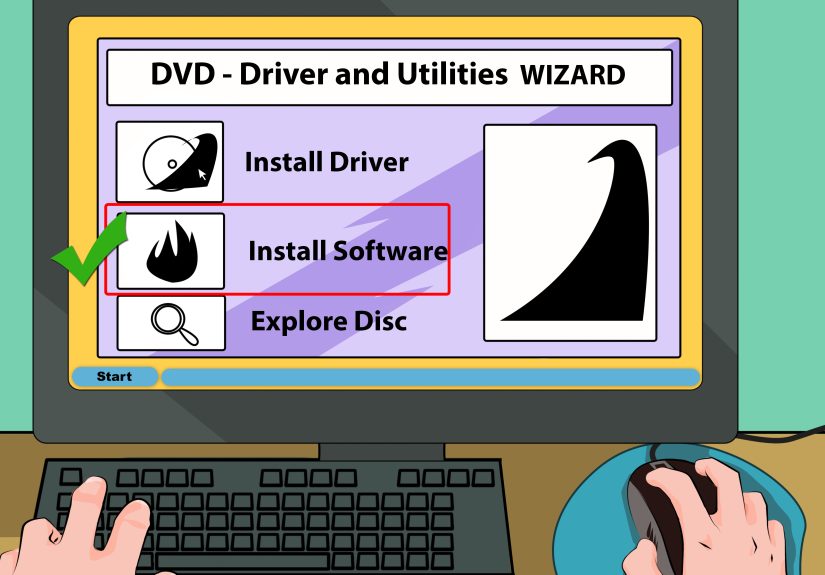
- Install Necessary Drivers (if any): Some external DVD drives may require you to install drivers. These are usually included on a CD or can be downloaded from the manufacturer’s website.
- Test the Drive: Insert a DVD or CD to test the functionality of the external drive. You should be able to read or burn data without any issues.
Pro Tip: External drives are incredibly portable and can be used with multiple devices. They’re ideal for users who need the flexibility of an optical drive without the need to open up their computer.
Option 3: Installing a DVD Drive in a Laptop
Many modern laptops no longer come with built-in DVD drives. However, if you have an older laptop or want to upgrade, it’s possible to install a DVD drive into a laptop that doesn’t have one by default.
Step-by-Step Guide:
- Buy a Compatible DVD Drive: Laptop DVD drives are smaller than desktop drives and come in two main sizes: slimline and standard. Make sure you purchase one that is compatible with your laptop’s design.
- Remove the Laptop’s Existing Tray (if applicable): Some laptops already have a blank optical drive slot or an existing drive. If so, use a plastic prying tool to gently remove the drive or the tray.
- Install the New Drive: Slide the new DVD drive into the laptop’s optical drive bay and secure it in place.
- Connect the Drive: Depending on the model, you might need to connect the drive to the motherboard or simply attach the connector using the metal clips.
- Test the Drive: After installation, power up your laptop and check if the drive shows up in your system. Insert a DVD or CD to confirm it’s working properly.
Pro Tip: Be sure to handle your laptop carefully during the installation process. Laptop parts are more delicate than desktop components, so work slowly and carefully.
Conclusion
Installing a DVD drive can be a straightforward task when you know which method works best for your system. Whether you opt for an internal drive, an external USB drive, or a laptop upgrade, each installation method has its unique advantages. If you’re a desktop user, an internal drive may be the most cost-effective solution, while an external USB drive is a portable and flexible option for laptops. Regardless of the method you choose, make sure you have the necessary tools and follow the steps carefully to ensure a smooth installation process.
Experience and Insights on Installing DVD Drives
Throughout my experience working with a variety of desktop and laptop builds, I’ve encountered many users who were hesitant to install DVD drives due to the complexity. However, after performing the installation process a few times, it becomes second nature. In particular, I’ve found that taking the time to organize cables in the case can improve airflow and prevent unnecessary clutter around the DVD drive. This can even help your PC run cooler and more efficiently.
One common issue I’ve seen with external drives is that some users experience lag when playing DVDs or streaming movies. This can often be fixed by ensuring that the external drive is connected to a high-speed USB port (preferably USB 3.0 or higher) rather than an older USB 2.0 port. Additionally, some users have struggled with driver issues when using external DVD drives on older PCs. In these cases, updating the operating system or downloading the latest drivers directly from the manufacturer’s website resolves most issues.
In summary, while the installation of a DVD drive may seem daunting at first, it is actually quite simple and offers significant benefits for those who still use optical media. Whether you go for an internal or external solution, the key is to follow the instructions carefully and be patient. In the end, you’ll have a fully functional DVD drive that enhances your computing experience.
sapo: Looking to add a DVD drive to your system? This comprehensive guide shows you how to install a DVD drive in your desktop, laptop, or as an external USB device. Whether you’re building a PC or upgrading your laptop, these methods will help you set up your optical drive with ease.





