Table of Contents >> Show >> Hide
- Why This Dollar Tree Pumpkin Wreath Works So Well
- What You’ll Need
- Step-by-Step: The “Classic” Dollar Tree Pumpkin Wreath
- Style Variations Inspired by Popular Dollar-Store Pumpkin Wreath Builds
- Budget Breakdown and Time Estimate
- Troubleshooting: What Usually Goes Wrong (and How to Fix It)
- Safety and Durability Tips (Because Hot Glue Has No Mercy)
- of Real-World “I’ve Been There” Experience With Dollar Tree Pumpkin Wreaths
- Conclusion
If fall had a mascot, it would be a pumpkin wearing a plaid scarf, holding a latte, and politely asking you to “just add a bow.” Enter the
Dollar Tree pumpkin wreath: a budget-friendly front door upgrade that looks way more expensive than the receipt suggests.
This project has big Hometalk energysimple base, clever hacks, and endless “wait… I can make that?!” variations.
In this guide, you’ll learn how to turn a Dollar Tree pumpkin wreath form into a finished wreath using common dollar-store supplies
(mesh, ribbon, raffia, burlap, florals, even sweater pumpkins), plus pro-level tricks for neat edges, strong attachment points, and a wreath that
survives real lifewind, doors slamming, and the occasional “Is that… glitter?” interrogation.
Why This Dollar Tree Pumpkin Wreath Works So Well
The magic is the frame. A pumpkin-shaped wire form gives you an instant silhouetteno cutting wood, no wrestling grapevine into submission.
From there, you’re basically styling a pumpkin “outline” like a tiny stage: you add texture (mesh, fabric, raffia), then details (stem, bow, florals),
then personality (farmhouse neutral, spooky cute, glam, or “I live for orange”).
The best part? You can scale it up or down. Want a minimalist look? Cover the frame with burlap and add one bow. Want “I decorated for fall in July”?
Add mesh puffs, layered ribbon tails, picks, mini pumpkins, and lights. The base stays the same; your vibe does the talking.
What You’ll Need
Think of this supply list like a buffet. You don’t need everythingjust pick a “main texture” and a few accents. Most of these can be found at Dollar Tree,
and you can mix in items you already have.
Core supplies
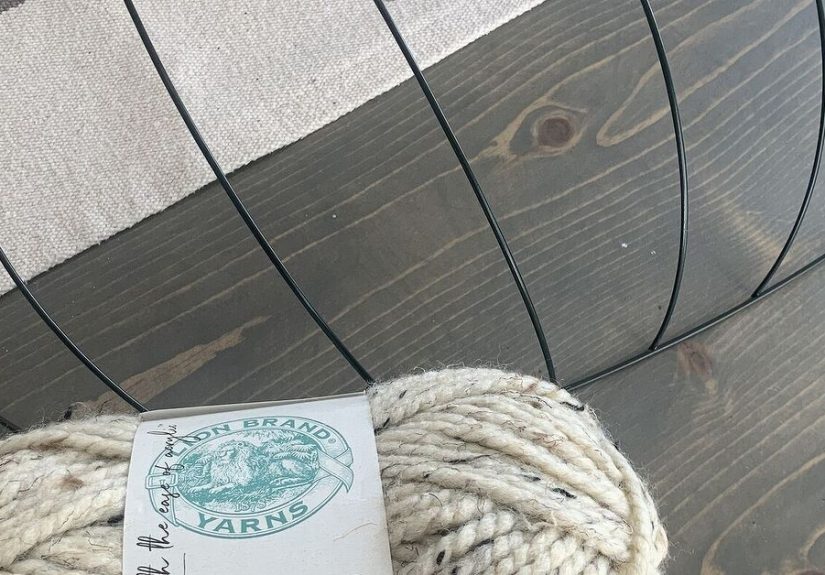
- Pumpkin-shaped wire wreath form (metal frame)
- Fasteners: chenille stems (pipe cleaners), zip ties, or floral wire
- Cutters: wire cutters or sturdy scissors (for zip ties/pipe cleaners)
- Hot glue gun + glue sticks (optional but helpful)
- Hanging method: ribbon loop, wire loop, or a door hanger
Main texture options
- Deco mesh (classic fluffy pumpkin look)
- Burlap ribbon (farmhouse, neutral, textured)
- Raffia (rustic “harvest pumpkin” vibe)
- Fabric strips (rag-wreath feel, cozy and soft)
- Yarn (warm, sweater-weather texture)
Decor options
- Fall floral picks (leaves, berries, wheat, eucalyptus)
- Mini pumpkins or faux gourds
- Signs (Hello Fall, Grateful, Boo, etc.)
- Ribbon (wire-edged ribbon is easiest to shape)
- Optional lights (battery fairy lights)
Step-by-Step: The “Classic” Dollar Tree Pumpkin Wreath
This method is the crowd favorite because it’s fast, full-looking, and forgiving. You’re creating repeated “puffs” or “bundles” that fill the frame evenly.
Use pipe cleaners or zip ties for strength, then add glue only where needed for polish.
1) Prep the frame so it behaves
- Lay the pumpkin frame flat and decide which side is the “front.”
- Check for pokey wire ends. If any feel sharp, tuck them inward with pliers.
- Plan your hanging point at the top (where the stem will be). Attach a small wire loop or ribbon loop now.
2) Choose your pumpkin color story
A quick trick: pick one main color (orange, cream, or even black) and two supporting colors (green for the stem,
plus a neutral like burlap or ivory ribbon). Limiting the palette keeps your wreath looking curated instead of “craft aisle exploded.”
3) Make mesh puffs (or “bundles”)
If you’re using deco mesh, cut it into consistent lengths. Then pinch the middle to form a bow-tie shape (or roll it into a loose bundle),
and fasten it to the frame using a pipe cleaner or zip tie. Repeat around the form.
- Cut mesh into equal pieces (consistency = neat, even fullness).
- Pinch the middle of each piece.
- Fasten the pinch point onto a wire section with a pipe cleaner/zip tie.
- Fluff and rotate the mesh so it covers the wire evenly.
4) Fill the pumpkin evenly (the “no bald spots” rule)
Work from the outer edge toward the center, and alternate placement so the mesh covers both the outline and the inner curves.
When you step back, your goal is a pumpkin shape that looks plushnot a wire frame wearing a thin sweater.
5) Build the stem and top detail
For the stem, use green mesh, green ribbon, faux greenery, or raffia wrapped tightly. Add a bow slightly off-center (it looks more designer),
then tuck in leaves, berries, or wheat picks. Secure picks with floral wire first; then add a dot of hot glue if you want extra stability.
6) Add the “final 10%” that makes it look store-bought
- Cover any visible fasteners with ribbon tails or leaf sprays.
- Twist and shape wired ribbon into clean loops.
- Trim long stems on floral picks so they don’t poke out the back.
- Give the whole wreath a “spin and fluff” from multiple angles.
Style Variations Inspired by Popular Dollar-Store Pumpkin Wreath Builds
Same frame, different personality. Here are several tried-and-true variations that show up again and again in fall DIY circlesbecause they work,
they’re affordable, and they photograph beautifully on a front door.
1) Farmhouse Burlap Pumpkin
Wrap burlap ribbon around the pumpkin frame like you’re mummifying itbut in a charming, Joanna-Gaines-approved way.
Keep the burlap snug, overlap slightly, and glue the ends neatly on the back. Finish with a large neutral bow and muted greenery.
2) Raffia “Harvest” Pumpkin
Raffia gives you a rustic, straw-like texture that reads “pumpkin patch.” Wrap in sections, bundle in small groupings,
and fasten with floral wire. Add a thicker, twisted raffia stem and a few berries for contrast.
3) Cozy Sweater Pumpkin Wreath
Use small fabric or “sweater” pumpkins (or fabric bundles) to create a chunky, soft look. Arrange them like scales:
tight enough to cover the frame, with consistent spacing so it looks intentional. Top with plaid ribbon for maximum autumn.
4) Spooky-Cute Halloween Pumpkin
Use orange mesh for the body, black ribbon for drama, and add plastic spiders or a small “Boo” sign. Keep it balanced:
if the bow is bold, keep the rest simpler so it doesn’t turn into a haunted craft store clearance bin.
5) Minimalist “Modern Fall” Pumpkin
Skip the fluff. Use a thinner base (like wrapped ribbon, yarn, or faux greenery) and add a single statement bow.
This style shines on modern doors, especially with neutral palettes and structured ribbon.
6) Lighted Pumpkin Wreath
Add battery fairy lights by weaving the wire through the back of the frame. Hide the battery pack behind a bow or greenery cluster.
Lights look best when they’re subtlethink twinkle, not runway spotlight.
Budget Breakdown and Time Estimate
Your total cost depends on how “extra” you go with ribbon and florals. A simple version can be very low-cost, while a layered,
boutique-looking wreath might add a few extra items (especially if you upgrade ribbon or add specialty picks).
- Time: 45–90 minutes for most builds (more if you’re making a complex bow)
- Cost: typically budget-friendly, especially if you already have a glue gun and cutters
Troubleshooting: What Usually Goes Wrong (and How to Fix It)
“My wreath looks patchy.”
You likely need more coverage in the inner curves. Add smaller bundles in the “dips” of the pumpkin shape and fluff outward.
Also check your spacinguneven gaps are more obvious on a pumpkin silhouette than on a circle.
“It’s shedding mesh like a golden retriever.”
Cut mesh cleanly and avoid over-handling the cut edges. If the mesh is fraying, consider tighter fasteners or switching to burlap/fabric strips.
“The bow looks sad.”
Use wired ribbon if possible, and make sure your loops are balanced. Give the bow a firm “fluff,” and don’t be afraid to add a second ribbon
as an accent layer. Bows are like hair: they usually look better after you stop being polite and start being bold.
“Things keep falling off.”
For heavier items (signs, thick picks, mini pumpkins), use a two-step attachment:
wire/zip tie first for strength, then a small amount of hot glue for stability and neatness.
Safety and Durability Tips (Because Hot Glue Has No Mercy)
- Use a silicone finger protector, craft mat, or even a spoon handle to press glued items into place.
- Let hot glue cool a few seconds before you press pieces togetherfresh glue is basically lava with confidence.
- If the wreath will be outdoors, keep paper signs protected (or seal them) and tuck the battery pack for lights away from rain exposure.
- Store the wreath in a large bag or shallow bin to protect the bow from flattening.
of Real-World “I’ve Been There” Experience With Dollar Tree Pumpkin Wreaths
Let’s talk about the part no one admits in the highlight reel: the first time you make a Dollar Tree pumpkin wreath, you will have a moment where you
stare at the wire frame and think, “This is either going to be adorable… or it’s going to look like a pumpkin outline that lost a fight with a mop.”
Totally normal. The glow-up happens in the repetitiononce you’ve attached the first few puffs (or wraps), your brain finally sees the vision.
The biggest lesson I’ve learned is that evenness beats perfection. People get stuck trying to make each mesh puff identical,
when what actually matters is that the overall shape reads as full and pumpkin-y from six feet away (a.k.a. “door distance”).
If one section looks a little thinner, you don’t need to redo the whole thingjust add a smaller bundle right in that spot.
The frame is basically a built-in cheat code for symmetry, so let it help you.
Another real-world tip: don’t underestimate the power of a strategic bow. A strong bow does two jobs at onceit adds polish,
and it hides your “engineering.” Battery pack for lights? Hide it. Awkward fastener cluster? Hide it. The spot where you had to reattach something
after it popped off dramatically (and personally offended you)? Hide it. A bow is like a tiny curtain for your craft decisions.
I’ve also learned that Dollar Tree materials shine when you mix textures. Deco mesh plus burlap ribbon. Raffia plus eucalyptus.
Fabric strips plus a crisp wired ribbon. When everything is the same texture, it can look flat. When you mix texture types, it suddenly looks
intentionallike you planned it that way (even if you absolutely did not and you were just using what was in your stash drawer).
Outdoor reality check: if your door gets a lot of sun, some colors can fade over time. If your wreath sits in direct weather,
keep paper elements minimal or sealed, and anchor heavier picks with wire instead of trusting glue alone. Hot glue is great,
but it’s not a miracle worker when the wind starts acting like it pays rent.
Finally, here’s the most important “experience” tip: give yourself permission to make one wreath as practice. The second one is always faster,
fuller, and cuter. The third one is when you start saying things like, “I could sell these,” which is how craft rooms become businesses.
Consider yourself warned (and encouraged).
Conclusion
A Dollar Tree pumpkin wreath DIY is the kind of project that delivers immediate fall joy without requiring a fancy craft budget.
Start with the wire pumpkin form, pick one main texture (mesh, burlap, raffia, fabric, or yarn), and finish with a bow and a few accents.
Keep your palette simple, attach heavy items with wire first, and remember: door-distance beauty is the goal. Your front door is about to look
like it has its life togetherwhether or not the rest of the house agrees.